
REVIEW · USA
Milky Way Photography Workshop in Acadia National Park
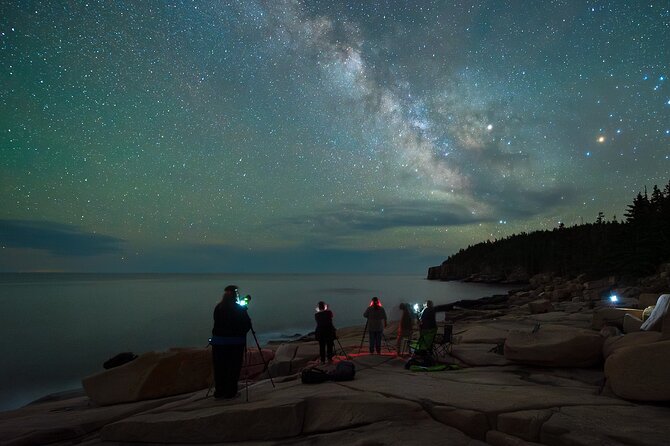
Stars meet the Maine coast here. This five-day workshop combines night shoots at Acadia’s best-known viewpoints with patient instruction from Christopher, a photographer who teaches camera work, time-lapse shooting, and advanced editing. I like the small maximum of five people, which gives you real access to the instructor, and I like that the course continues after the field sessions with a one-on-one post-processing lesson through Discord.
The main drawback is the price: $2,500 per person, before lodging, meals, and the required park admission listed in the booking details. You also need suitable camera gear and some manual photography experience, so this is not a casual stargazing outing. Clear skies are essential, and the late-night schedule will test your stamina.
Key points at a glance
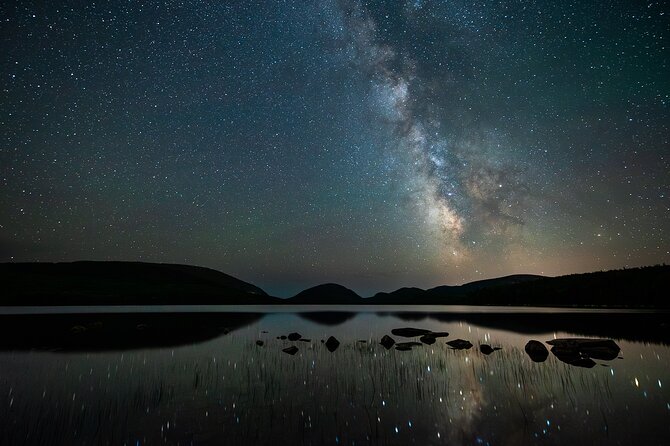
- Five Acadia night locations: Photograph Jordan Pond, Otter Cliff, Bubble Pond, Sand Beach, and Eagle Lake.
- Small group instruction: A maximum of five people makes it easier to get help with settings, focus, composition, and editing.
- Christopher’s teaching style: The instruction covers field technique, time-lapse work, focus stacking, Lightroom, Photoshop, and image blending.
- Professional-style image making: You learn to combine a sharp sky exposure with a longer foreground exposure, rather than accepting a single flat frame.
- Private park transportation: All transport inside Acadia is included, with water and snacks in the vehicle.
- Weather matters: The experience can be moved or refunded if poor weather cancels the workshop.
What you are really paying for in five days
This is not simply a ride around Acadia after dark. You are paying for guided access to several strong night photography locations, help in the field, transportation between them, and a private editing session after the shooting is finished.
That distinction matters. Astrophotography often fails for small reasons: the focus is slightly off, the foreground is too dark, the stars trail, or the composition does not line up with the Milky Way. A good instructor can save you hours of trial and error. Christopher’s teaching also reaches beyond basic camera settings, with lessons in focus stacking, panoramas, time-lapse work, and blending separate exposures in Photoshop.
The group size helps justify the cost. With no more than five people, you should have a fair chance to ask about your own camera, lens, tripod, and editing choices. This is a much better setup for serious learning than a large sightseeing group where the guide has to keep moving.
Still, $2,500 is a major commitment. You must add your own accommodation, meals, and other personal costs. The workshop suits you best if you want lasting skills and finished images, not just one memorable night under the stars.
More Photo Trips in Bar Harbor:
- Canyoning Bled Slovenia Triglav National Park Tour with Photos
★ 5.0 · 125 reviews - Hiking in Riisitunturi National Park with Photographer
★ 5.0 · 114 reviews - Bled: Triglav National Park Canyoning Adventure with Photos
★ 5.0 · 102 reviews
Why Acadia works for night photography
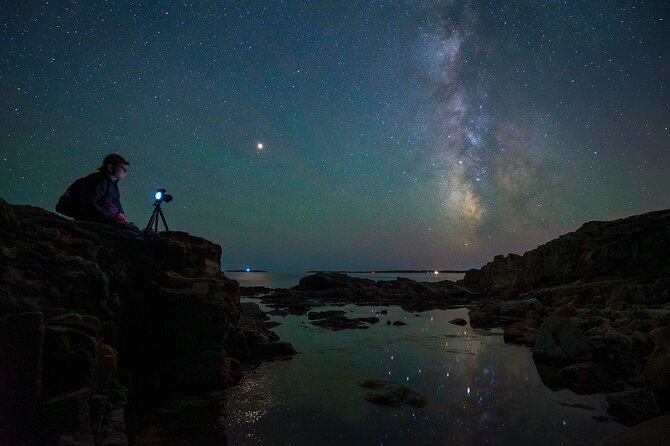
Acadia gives you several kinds of foreground interest in one compact national park: ocean cliffs, sandy shore, ponds, mountains, trees, and open views. That variety is valuable because a successful Milky Way image needs more than a sky full of stars.
The course focuses on celestial storytelling. In plain terms, you learn to place the Milky Way or moving stars above a recognizable Acadia feature, then use that foreground to give the picture a sense of place. Otter Cliff can provide a rugged coastal shape. Sand Beach offers a broad shoreline. Jordan Pond and Bubble Pond bring still water and reflections into the frame.
The goal is not to point straight up and collect stars. You work on balance, scale, direction, and timing. The foreground tells the viewer where the picture was made, while the sky gives it drama.
You also learn to plan the Milky Way’s position with PhotoPills. That app helps you check when and where the galactic center will appear, then match it to a cliff, pond, beach, or other feature. Planning is one of the most useful parts of the course because it replaces guesswork with a clear shot idea.
Jordan Pond: reflections and careful composition
Jordan Pond is one of the five planned locations, and it gives you a chance to work with water and a strong natural setting. A pond can make a night image feel more spacious, especially if the surface reflects stars or surrounding forms.
The challenge is exposure balance. A bright sky, dark trees, and nearly black water can push your camera beyond what one frame handles well. This is where the workshop’s lessons on multiple exposures become useful. You may learn to make one exposure for the sky, another for the foreground, and then combine them in Photoshop.
Jordan Pond is also a good place to practice focus stacking. You might use one focus point for nearby foreground detail and another for the distant scene, then blend the sharp frames later. The technique takes more care than a simple single exposure, but it can produce a cleaner result from front to back.
You should expect the instructor to spend time on composition here, not just camera settings. Reflections, open water, and distant forms can easily leave a picture feeling empty if you do not place the main subject with care.
Otter Cliff: the coast under a moving sky
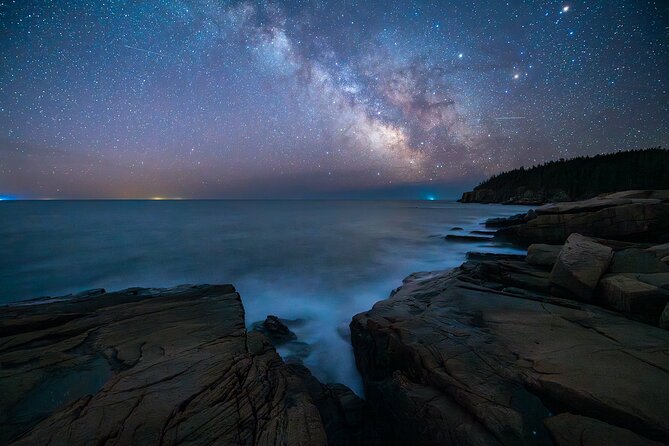
Otter Cliff brings the Atlantic coast into the workshop’s night work. The location is suited to the course’s central idea: combine a dramatic coastal feature with the movement and scale of the stars.
At a cliff location, your tripod matters. A sturdy tripod is required because long exposures magnify every shake. You also need to pay attention to how the camera is positioned relative to the coast, since a small change in angle can alter the relationship between the cliff and the Milky Way.
This is also where storytelling becomes more than a slogan. The rock gives your eye a solid starting point, while the stars create motion and distance. Christopher’s lessons on longer foreground exposures can help retain detail in dark coastal forms without making the sky too bright.
I would treat Otter Cliff as a place for patience. Night photography is slow by nature. You may need several attempts to refine focus, framing, exposure, and timing. The small group should make that process less hurried than a standard sightseeing stop.
More Hands-On Sessions in Bar Harbor:
- Island City ECO Paddle and Lesson to 9.3 Acre Nature Preserve
★ 5.0 · 49 reviews - Denali Alaska: Wilderness Rafting Class II-III Trip
★ 4.8 · 32 reviews - Tenerife: Scuba Diving Lesson and Abades Protected Area Dive
★ 5.0 · 17 reviews - Canyon Run: Denali National Park Class IV Whitewater Rafting
★ 4.2 · 16 reviews
Bubble Pond: a quieter setting for technique
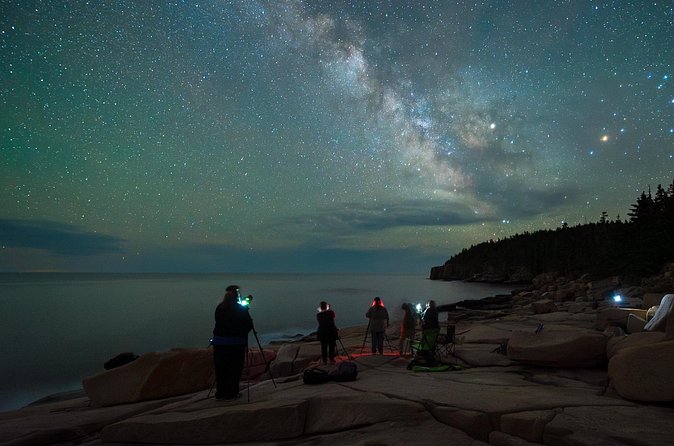
Bubble Pond adds another water-based setting, but with a different feel from the open coast. It gives you another chance to work on reflections, silhouettes, and the way trees or mountain forms frame the sky.
The value of visiting more than one pond is practical. You do not learn one composition and stop. You compare how exposure, focus, and framing change when the foreground is a dark woodland edge instead of a sandy beach or exposed cliff.
This location should be useful for learning how much foreground to include. Too little can make the image feel like a generic star field. Too much can swallow the sky. The workshop encourages you to use natural features as part of the story, not as decoration added at the last moment.
You may also work on time-lapse ideas here. Christopher has taught techniques for showing clouds and stars moving through time, as well as workflows for turning still frames into time-lapse videos with Lightroom and third-party software. That material will appeal to photographers who want motion, not only still images.
Sand Beach: scale, texture, and open sky
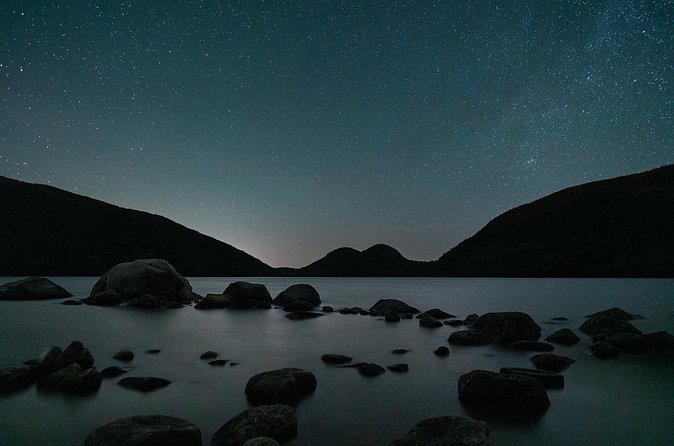
Sand Beach gives you a broad shoreline and a more open coastal view. That can help when you want to show the Milky Way at a larger scale, with the beach or sea anchoring the lower part of the frame.
A beach also brings texture into the composition. Wet sand, shoreline curves, and darker coastal shapes can lead the eye into the picture. You will need to pay attention to how much of the frame goes to the ground, since the Milky Way can lose impact if the foreground dominates.
This is another location where separate exposures can help. A sky exposure may preserve stars, while a longer foreground exposure can bring out the beach and nearby shapes. Blending those files takes editing skill, and it is one of the more valuable lessons in the workshop because the method applies to many night scenes beyond Acadia.
The drawback is that the best result depends heavily on conditions. Clouds, haze, or poor visibility can change the view. The operator requires good weather and may offer another date or a full refund if conditions make the workshop impractical.
Eagle Lake: a final chance to refine your method
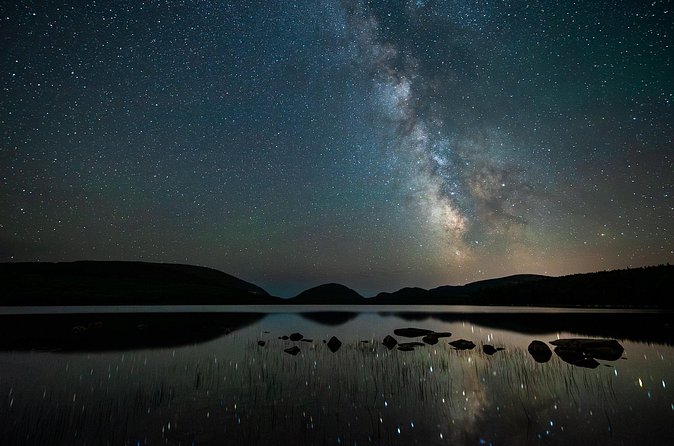
Eagle Lake completes the planned set of locations. Like the other water sites, it offers a way to work on still reflections, dark silhouettes, and the balance between sky and foreground.
By this stage, you should have several chances to refine the same basic process: choose a composition, check the Milky Way position in PhotoPills, set manual focus, secure the tripod, make test exposures, and adjust the frame. Repetition is useful here. Night photography can feel complicated until the sequence becomes familiar.
Eagle Lake also gives you a chance to compare files from different settings. Look at how the camera handled water, trees, darker foregrounds, and the sky. That comparison can make the editing session more productive because you are not working with only one type of image.
The itinerary names five locations, but it does not promise equal shooting time at each one. Conditions, timing, and the group’s pace can affect how long you spend at a particular stop. I would arrive ready to adapt rather than expecting a fixed sightseeing schedule.
What you will learn in the field
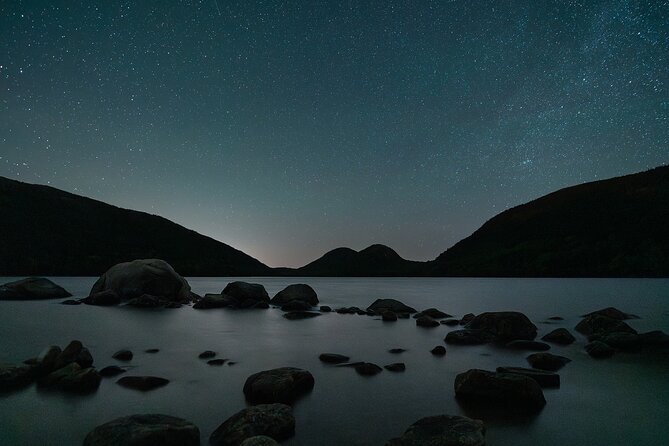
The workshop expects you to bring a DSLR or mirrorless camera that can handle long exposures. A wide-angle lens with an aperture of f/2.8 or faster is also required, along with a sturdy tripod and an external intervalometer unless your camera already includes that function.
You should already understand basic manual settings and have some familiarity with post-processing. That prerequisite is important. The course is designed to improve your technique, not teach every camera control from the beginning.
Field instruction includes:
- Single-exposure night sky photography
- Stacked night sky images
- Milky Way planning with PhotoPills
- Foreground composition and storytelling
- Focus stacking
- Longer exposures for foreground detail
- Time-lapse photography
- Panoramas and multiple-exposure images
The strongest part of this mix is the connection between planning, shooting, and editing. You do not just hear which shutter speed to use. You learn why the exposure fits the scene, how the sky and foreground may require different treatment, and what can be repaired later in Lightroom or Photoshop.
The editing lesson is a major advantage
Many photography workshops end when the camera goes back in the bag. This one includes a one-on-one post-processing session through Discord, which gives you a chance to work through your own files with personal help.
That matters because night images often look disappointing straight out of the camera. The sky may be too bright, the foreground too dark, or the colors uneven. Lightroom can help with basic adjustments, while Photoshop is needed for more advanced blending and stacking.
The editing instruction includes workflows for making a sky exposure and a longer foreground exposure work together. You can also learn focus stacking and time-lapse processing. These skills apply well beyond Milky Way pictures, including night city scenes, dawn photography, and other situations with a difficult brightness range.
The personal format is worth noting. You are not simply watching a general lecture. You can ask about your own files, which is often where technical lessons finally make sense.
Christopher’s teaching style and past course depth
Christopher receives especially strong praise for being calm, patient, warm, and easy to spend time with. Those traits matter at night, when cameras behave differently, fingers get cold, and a small technical problem can derail a shot.
His instruction has covered the full process, from pre-shoot lessons to field work and final editing. The course can also include time-lapse photography, video creation, panoramas, focus stacking, and exposure blending, so you are likely to leave with skills useful for more than one type of image.
One participant returned for the workshop three times, which suggests the format has enough depth to support repeat visits. Another described leaving with an image that remained a favorite night photograph years later. I would not treat that as a promise of a perfect picture, since weather and personal practice still matter, but it does show the course is built around making finished work rather than simply seeing the Milky Way.
Schedule, transport, and practical comfort
The experience is listed as approximately five days, with operating hours shown in two late-day and overnight windows: 7:00 p.m. to 11:30 p.m., and midnight to 3:30 a.m., Tuesday through Saturday. You should expect a schedule centered on darkness, not ordinary daytime sightseeing.
Private transportation covers travel within Acadia National Park. That is a meaningful benefit because you can focus on your gear instead of navigating between locations at night. Bottled water and snacks are provided in the vehicle, but meals are not included.
Lodging is also your responsibility. The course information notes that accommodations near the park can be convenient for food and shopping, but no hotel is part of the price. Plan your sleeping arrangements carefully because the late schedule can make a distant base inconvenient.
The activity requires moderate physical fitness. Service animals are allowed, and pickup is offered. Confirmation is provided at booking, and the activity is offered in English with mobile tickets.
One detail needs checking before you pay: the admission note refers to a $20 Yellowstone National Park pass, even though this workshop takes place in Acadia. Ask the operator which Acadia admission or park pass is actually required. The listed price is not included in the $2,500 workshop fee.
Who should book this workshop?
I would choose this course if you already know how to use manual exposure settings and want to produce stronger night images. It is especially well suited to photographers who want personal instruction, a small group, planned compositions, and help with Photoshop after the shoot.
It also fits you if you want to learn several connected skills at once: Milky Way photography, focus stacking, panoramas, time-lapse work, and exposure blending. The workshop has more value for a serious hobbyist than for someone who only wants to look at the stars.
You may want to skip it if you do not own the required gear, dislike late nights, or prefer a simple guided outing with no editing work. The cost is hard to justify unless you expect to use the skills again.
Should you book the Acadia Milky Way workshop?
Book it if you want a focused photography course, not just a night in the park. The small group, private transport, five varied locations, and one-on-one editing help create a strong learning package. Christopher’s patient teaching is the feature I would value most, especially if you have struggled to turn good night skies into finished images.
Before booking, confirm the park admission charge, your lodging, the exact daily schedule, and what happens if poor weather interrupts the five-day plan. If those details work for you and your camera kit meets the requirements, this is a serious, skill-building way to photograph Acadia after dark.
FAQ
Where does the workshop take place?
The workshop is based in Bar Harbor and takes place within Acadia National Park.
How long does the workshop last?
It lasts approximately five days.
What locations are included?
The planned locations are Jordan Pond, Otter Cliff, Bubble Pond, Sand Beach, and Eagle Lake.
How many people can join?
The maximum group size is five travelers.
Is transportation included?
Yes. Private transportation is provided for all travel within Acadia National Park during the workshop.
Are meals and lodging included?
No. Meals and lodging are not included in the $2,500 price.
What camera do I need?
You need a DSLR or mirrorless camera capable of long exposures.
What other gear is required?
You need a wide-angle lens with an aperture of f/2.8 or faster, a sturdy tripod, and an external intervalometer unless your camera has one built in.
Is editing instruction included?
Yes. The workshop includes a one-on-one post-processing instructional session through Discord, with instruction in Lightroom and Photoshop.
What happens if the weather is poor?
If poor weather causes cancellation, you will be offered a different date or a full refund. You can also cancel up to 24 hours before the start time for a full refund.
Just added around Bar Harbor
- Self-Guided Audio Driving Tour in Acadia National Park★ 4.5 · 46 reviews
- Acadia National Park & Bar Harbor Self-Guided Driving & Walking Tour★ 4.5 · 66 reviews
- Acadia National Park Self-Guided Audio Tour★ 4.0 · 2 reviews
- Acadia National Park Tour Sea to Summit★ 5.0 · 2 reviews
- Acadia National Park Premium Specialized E-Bike Rental★ 5.0 · 8 reviews
- Bar Harbor: Acadia National Park Tour with Lobster Roll★ 4.6 · 38 reviews
- Bar Harbor: Acadia National Park Customizable Private Tour★ 4.7 · 8 reviews
- Bar Harbor: Acadia National Park Private Tour with Lunch★ 5.0 · 12 reviews
Workshops, compared.
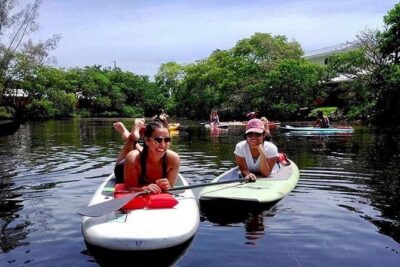
Island City ECO Paddle and Lesson to 9.3 Acre Nature Preserve
Read our review →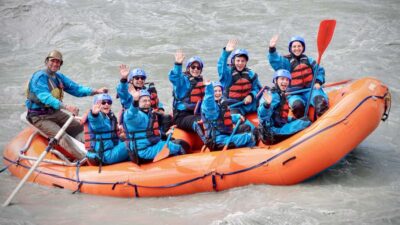
Denali Alaska: Wilderness Rafting Class II-III Trip
Read our review →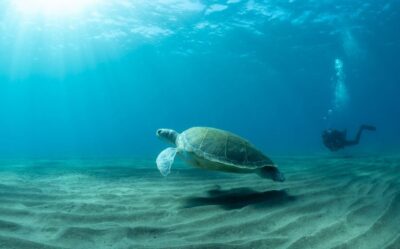
Tenerife: Scuba Diving Lesson and Abades Protected Area Dive
Read our review →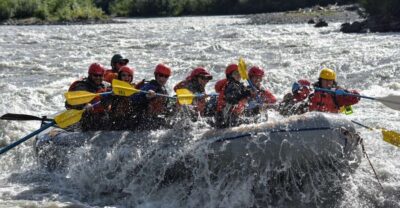
Canyon Run: Denali National Park Class IV Whitewater Rafting
Read our review →
1h15min surfing lessons in Victoria Bay & Wilderness
Read our review →Browse the lists this tour appears in